First, start with a picture that has good contrast between the background and subject. If your person has dark hair and is sitting in front of a dark leafy tree, their hair will just disappear into the background and it won't be the greatest picture. The same goes for really busy backgrounds - they will just look muddy. And some pictures just plain look better in color! So picking the right picture to turn B&W is important.
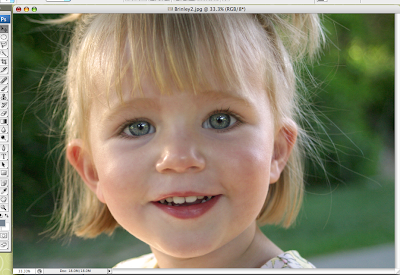
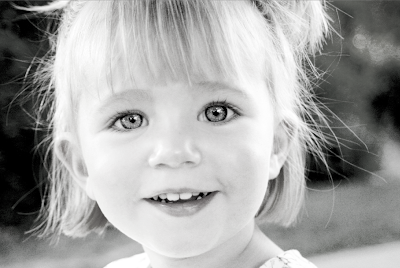
This picture will look great in B&W, the girl's hair stands out from the darker background and her eyes have a nice sparkle. Before I turn it B&W though, I'm going to pump up the contrast a bit more. We'll do this in Image -> Adjustments -> Levels
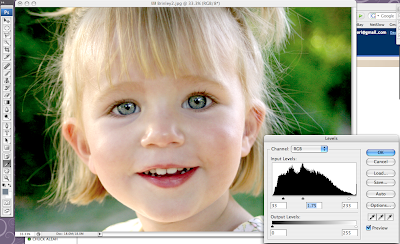
Mess around with the sliders until things are kind of hyper-contrasted. We talked about the features of Levels on a previous Photoshop Friday, if you want to review. Remember, you can always back up and start over if you don't like the results. You might even find a color version of the picture that you like better than the original. But nothing is permanent (just make sure you don't save over your master file!)
I usually bring the middle arrow up (to the left) and the left arrow back towards the middle. Beware the right arrow - you can really blow out your white areas and make the picture look 'hot'.
When that is done, I see what Image -> Adjustments -> Brightness/Contrast can do for me. Again, play around with the slider arrows to see what happens.
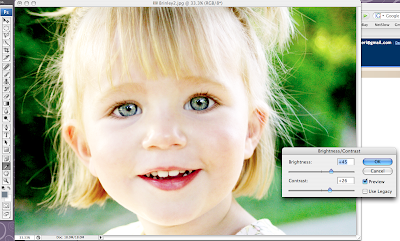
At this point the picture is going to look hyper-colored and usually not so great. But stay with me!
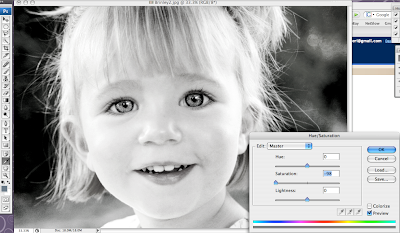
Not all versions of Photoshop have a black-and-white feature. Never fear! If there isn't a Black and White command in the Image -> Adjustments tab, click Hue/Saturation
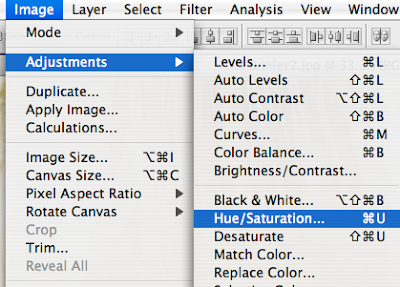
Take the slider for Saturation all the way down (left). Voilà!
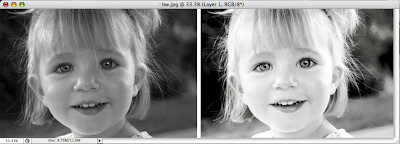
Just so you'll see what the original picture would have looked like if you had simply run a regular black&white command on it.


3 comments:
this looks so fun! i can't wait to try it. I never would have thought to adjust the level before turning a picture black and white!
I love Photoshop Fridays! I am excited to play around with b&w.
I finally tried this! LOVE IT
Post a Comment