
Or is it just a perk?


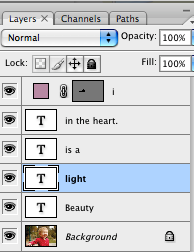
 Now for the fun part. Let's change the color of the text first. Using your text tool, you're going to highlight the word that you want to change. Either in the Character palette or in the main toolbar, you're going to see an option for color (handy arrow to show you.)
 Clicking on the color box will bring up this text-color window. Just about any color imaginable is available to you here. You can click in the rainbow bar to get reds, blues, greens... and then fine-tune your color in the big box by picking a color that is brighter, darker, more muted or vibrant... whatever suits you. But in this example, we're matching the color of her sweater. So move your cursor outside of the color box (but still over the photograph) and notice that it turns into a little eyedropper tool. This tool will pick up the color of any pixel that you're holding it over. Try clicking around the picture and you'll notice that the color changes each time. Also notice that even though her sweater is pink, there are different light and dark areas. So try a few and see which you like better, and which looks best over the background. You can always go back into the Select Color window and make it lighter or darker there as well. Pay attention to the background to make sure that your text or other element looks good against the background and adjust your color as needed.
 When you've found the perfect shade of pink, click OK and de-select your text. Viola! Repeat for the rest of your text as needed. Instead of trying to find the exact area of the sweater where you chose the first pink, you can click right on your text and pick that color (eliminating even MORE guesswork... so fabulous!)
 Have fun with your photos!

 Foam is surprisingly expensive so I used some egg-crate pad to cushion the seat. After sewing strips of the fabrics together, I pulled it tight over the foam and stapled it to the underside of the bench.
 She was very happy with the result.
 This is a sweet roll that my grandfather used to make every Easter. And since I was sick last week, we made them yesterday!
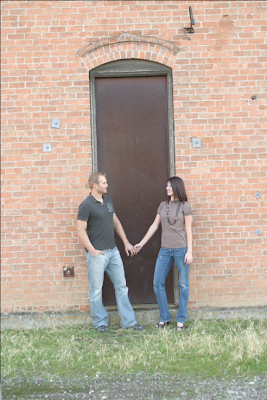 When you open your picture in Photoshop, expand the work window so you have some gray space around the picture to work with. Just pull out the lower-right arrow so the window gets bigger (it won't affect the picture, just your workspace).
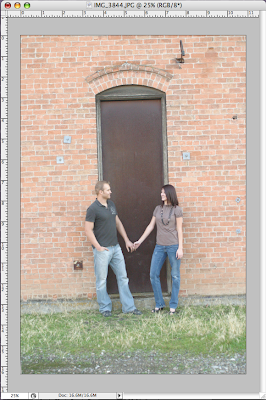 If your window doesn't have a ruler around the top and left edge, click Cmmd (Control on a PC) R to get one. Or go to View - Rulers. Place your cursor inside the ruler, click and drag out a straight line. Place it anywhere you like (it won't show up on the finished picture.)
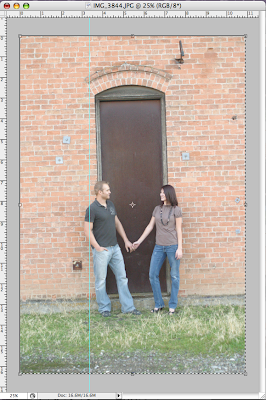 To rotate the picture, click Cmmd(Ctrl) A to select all. A dotted line should appear around the entire picture. Then click Cmmd(Ctrl) T to Transform. When you put your cursor near any of the corner transform boxes, it should turn into a curve with an arrow at the end. Use this to rotate the picture until it is straight up-and-down (use your ruler line for reference).
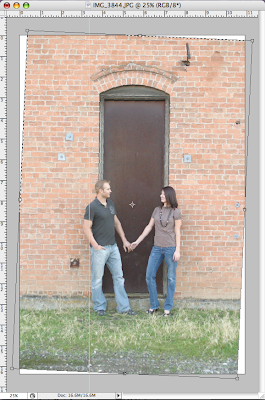 Once the picture is lined up, click Enter and all the transform boxes will disappear. Click Cmmd(Ctrl) D to de-select the area and make all the dotted lines disappear.
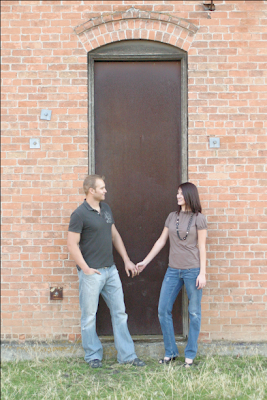 You're done! Perfectly straight picture.

 I'll be gone for a few days for Easter Jeep Safari. I'm crossing my fingers that it won't snow/rain and be horrible. Have a great weekend!
